List what the bridge must do and the limits you must follow.
Grade 5 · 3D Printing · Lesson 03
Build a Community Connector
Engineer a model bridge that balances strength, cost, and material use.
Time3 × 60 minutes + adult printingTeamsTeams of 3–4EquipmentBambu P1S fleet
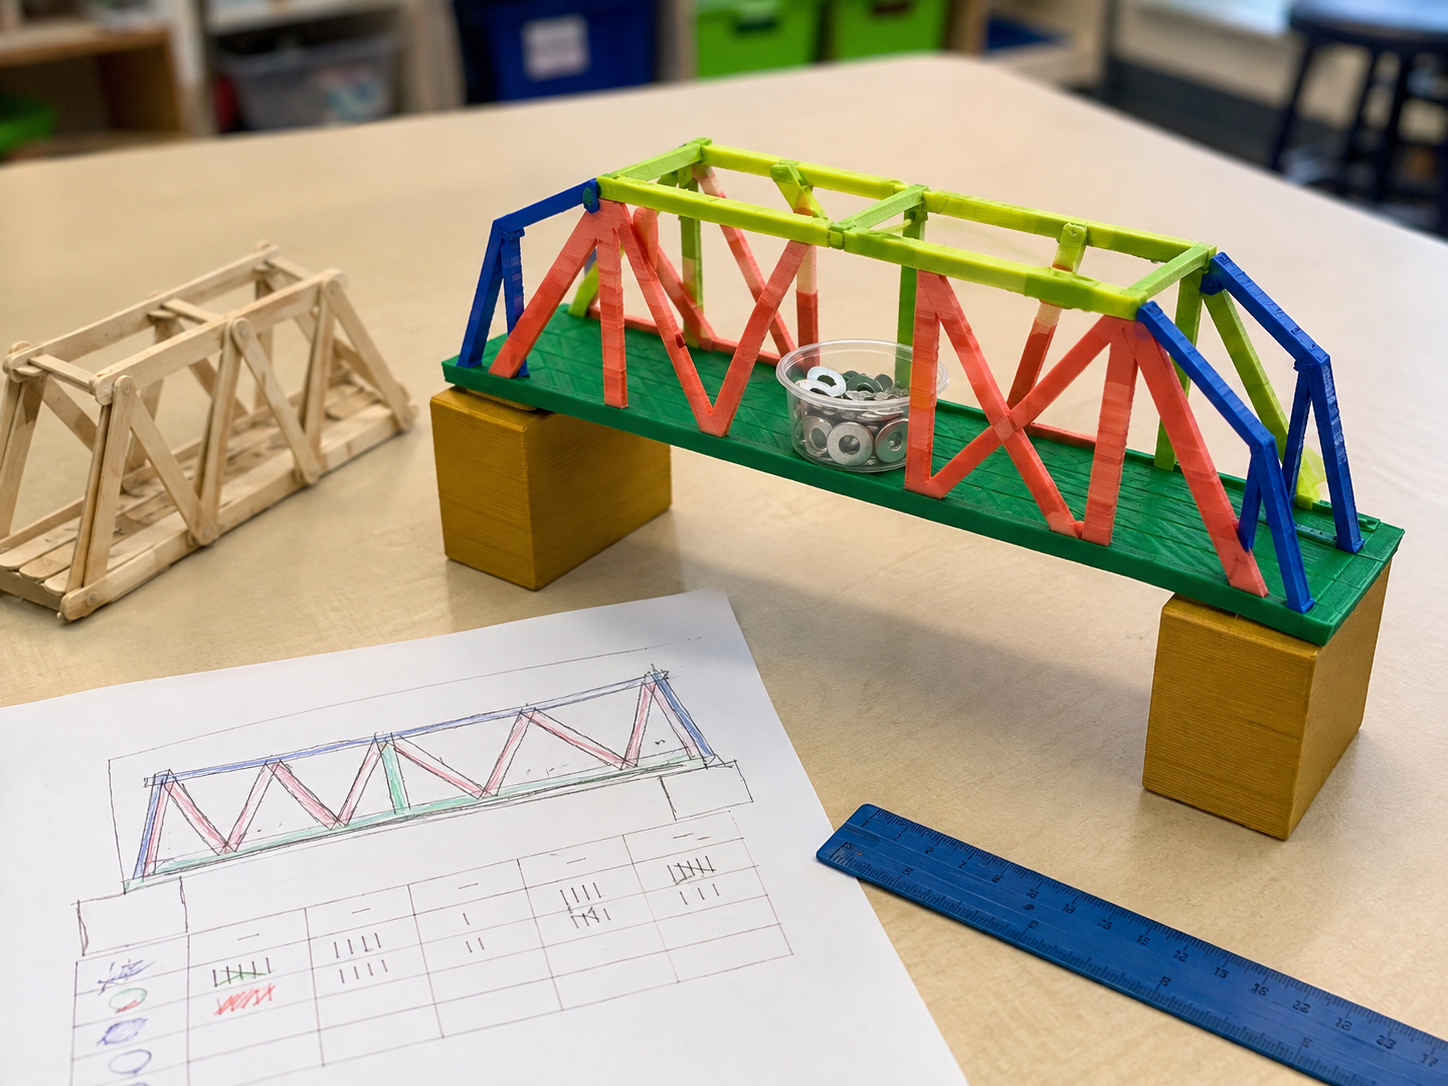
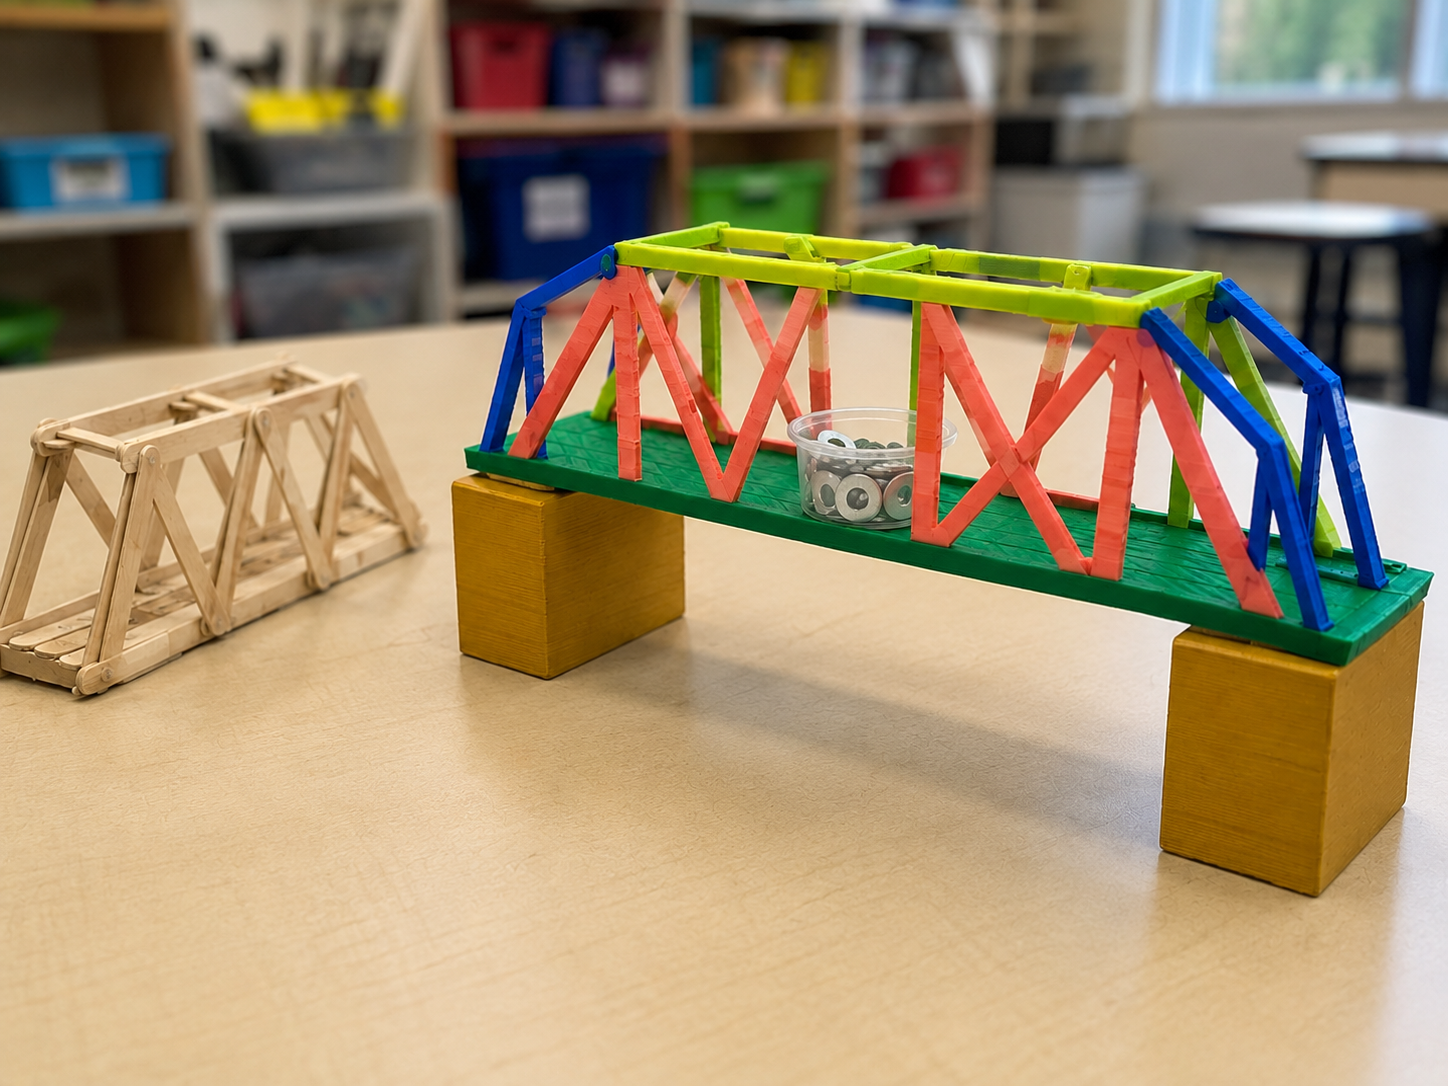
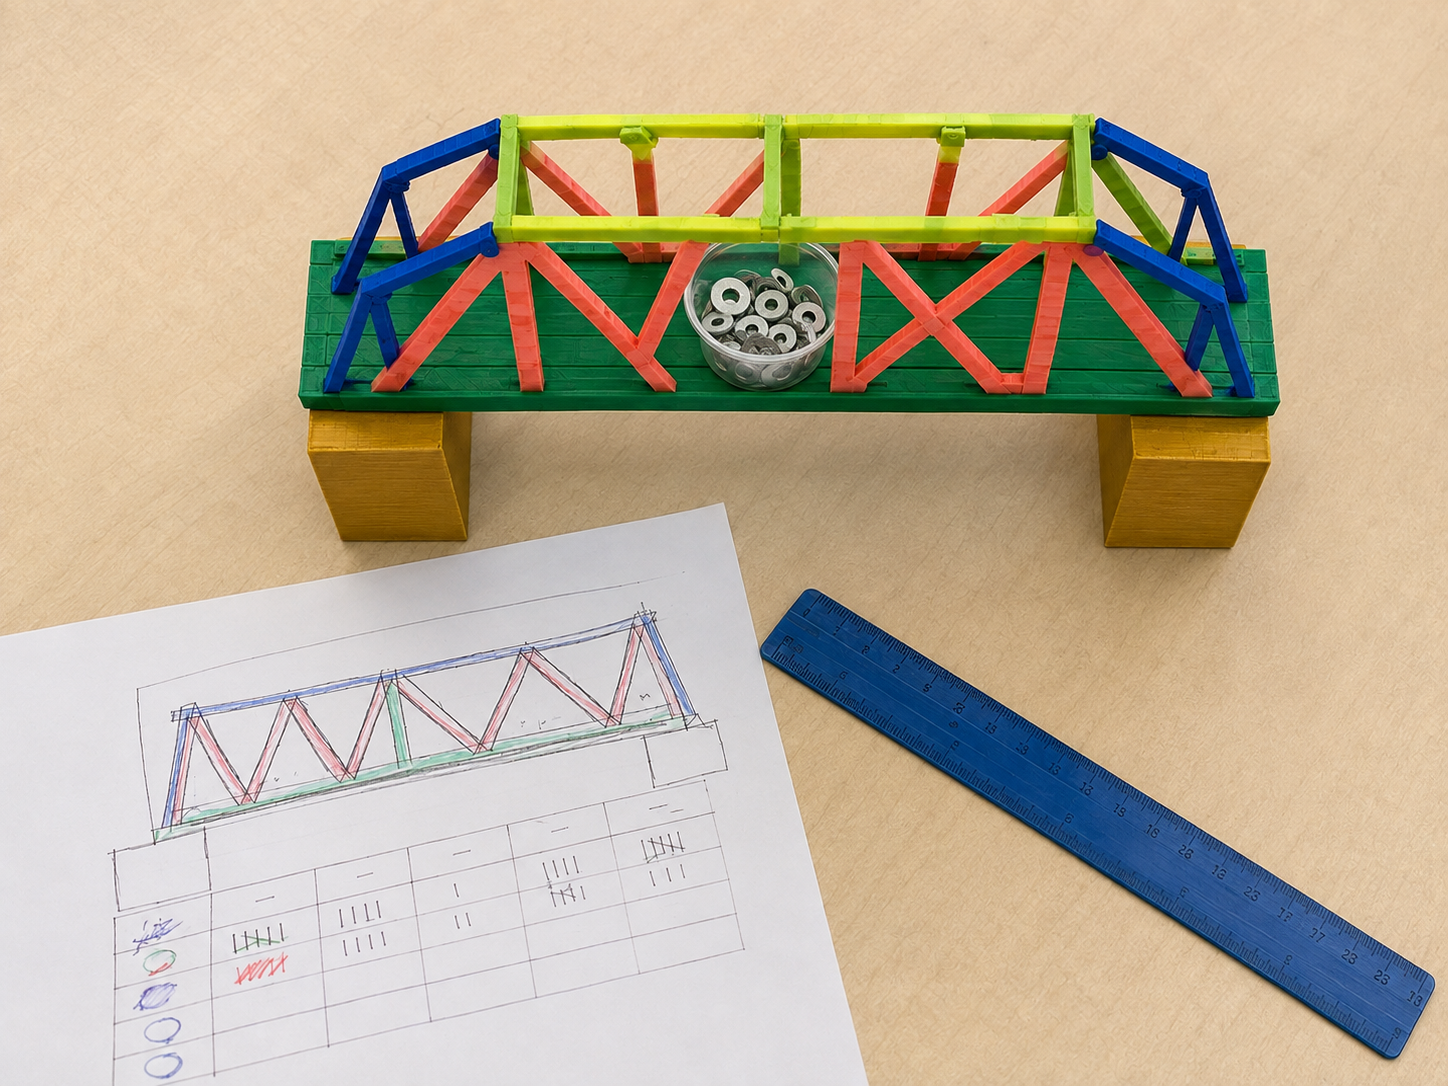
Project inspiration · 3 images
See, build, and test
Use these images to understand the kind of making, details, and testing involved. They are inspiration—not designs students must copy.
Student quick guide
What are we doing?
Draw three bridge ideas and use a score chart to choose.
Build, add weight slowly, find the weak spot, and improve it.
For teachers
Engineering standards
This shows how the lesson connects to the national NGSS engineering standards and what student work you can collect.
Assessed
3-5-ETS1-1
Teams translate a community scenario into measurable span, load, cost, and material requirements.
What students show: Design brief with prioritized criteria and quantified constraints.Assessed
3-5-ETS1-2
Teams score three bridge concepts with a weighted decision matrix.
What students show: Completed matrix and evidence-based selection statement.Assessed
3-5-ETS1-3
Teams use identical supports and incremental loads, locate failure points, and revise the structure.
What students show: Load data, failure map, revised model, and efficiency calculation.Materials
- Craft sticks or index-card strips
- Masking tape or glue dots
- Two equal support blocks
- Washers or identical masses and a hanging cup
- Digital scale and rulers
- Graph paper
- Computer with 3D-design software
- PLA filament; target 20–35 g per team
Teacher preparation
- Choose a scenario such as connecting two neighborhoods across a creek while preserving space below.
- Set a 20 cm prototype span and a target load appropriate to available masses.
- Prepare a stable testing zone and eye protection according to school procedures.
- Create file rule: G5_Team##_Connector_v1.
- Plan printer queue by estimated duration and combine compatible models on build plates.
Step by step
How to teach it
Day 1 · 0–20
Define the challenge
- Read the community scenario and identify users.
- Set measurable criteria: clear span, target load, usable deck, and stability.
- Set constraints: material quantity, maximum mass, footprint, and production time.
Day 1 · 20–60
Develop and decide
- Sketch beam, arch, and truss-inspired concepts.
- Weight criteria from 1–3 based on importance.
- Score each concept, calculate totals, and select or combine features with justification.
Day 2 · 0–35
Prototype and test
- Build the selected concept to the set span.
- Add identical load increments at the same location and rate.
- Run at least two trials or explain why the first test caused permanent failure.
- Record maximum supported load and mark the first failure point.
Day 2 · 35–60
Analyze and revise
- Calculate efficiency: maximum load divided by bridge mass.
- Graph or table team results.
- Revise one structural feature based on failure evidence and peer critique.
Day 3
Model, print, and defend
- Create a scaled digital model that meets the print constraints.
- Run teacher checks for span, thickness, orientation, material use, and print time.
- Adult prints approved models.
- Teams test or inspect final models and present the tradeoff they chose to prioritize.
Assessment
- Brief includes measurable criteria and constraints tied to the scenario.
- Decision matrix compares three concepts and supports the final choice.
- Test uses consistent supports, load location, and increments.
- Revision targets the recorded failure point.
- Final explanation uses data and acknowledges a tradeoff.
Supports & extensions
- Provide a partially completed decision matrix.
- Use color-coded structural members and a physical joint demonstration.
- Allow calculator use and shared data-recording roles.
- Offer prebuilt test rigs and measured material bundles.
- Extension: minimize projected print mass while maintaining a required safety factor.
Safety & responsible use
- Keep faces and hands away from loaded structures and falling masses.
- Use a defined test zone and stable supports.
- Students do not touch hot or moving printer components.
- An adult handles slicing approval, printing, part removal, and sharp tools.
No-machine alternative
Build the final bridge with cardboard strips, craft sticks, paper tubes, or reusable construction pieces. Use the same span, load test, efficiency measure, and revision requirement.
Printable student design brief
The challenge
Design a model bridge that connects a community across a 20 cm gap while using materials efficiently.
Success criteria
- Spans the full gap without support below
- Carries the target load
- Includes a usable deck
- Remains stable during testing
Constraints
- Uses only the provided material budget
- Stays within the maximum mass
- Fits the fabrication envelope
- Uses identical test conditions
Engineer’s notes
The most important criterion is… because…
Our matrix showed…
Our maximum load was…
The first failure point was…
Our load-to-mass efficiency is…
We revised… because the data…