Meet the challenge: Create a model playground that offers at least three different ways to play and a clear way for everyone to enter.
Grade 3 · Low-Tech Builds · Lesson 28
Dream Playground Model
Design a playful space where different children can move, imagine, and belong.
Time2–3 × 60 minutesTeamsTeams of 3–4EquipmentNo powered equipment required
Project inspiration · 3 images
See, build, and test
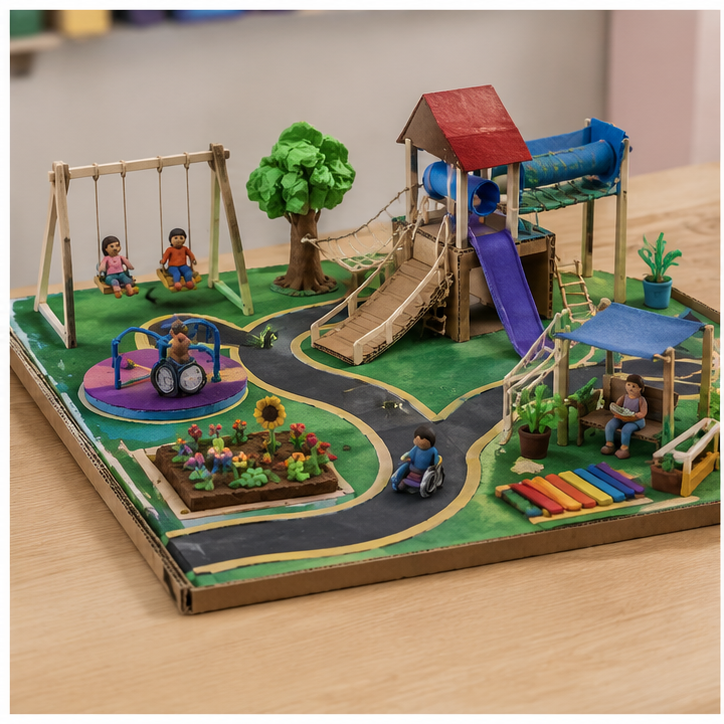
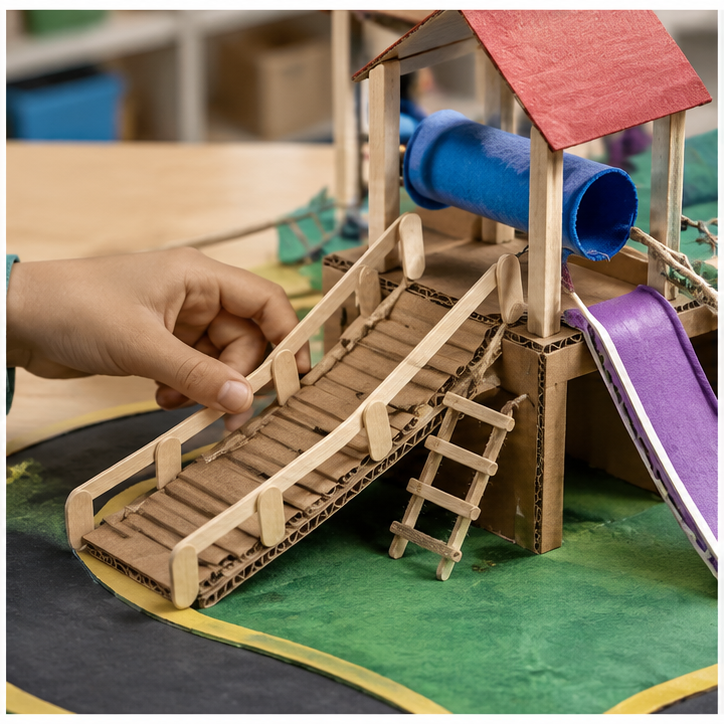
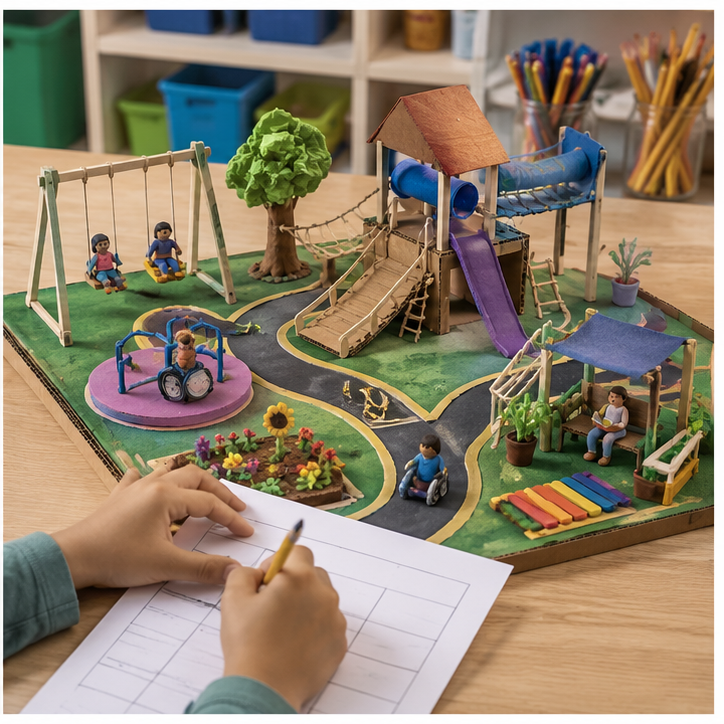
Use these images to understand the kind of making, details, and testing involved. They are inspiration—not designs students must copy.
Student quick guide
What are we doing?
Sketch different ideas, choose materials, and build a first model.
Test it fairly: move the same set of user figures through entrances, paths, and play zones. Improve one part and test again.
For teachers
Engineering standards
This shows how the lesson connects to the national NGSS engineering standards and what student work you can collect.
Assessed
3-5-ETS1-1
Teams define the user or purpose, success criteria, and limits before building.
What students show: Problem statement with measurable criteria and material constraints.Practiced
3-5-ETS1-2
Students sketch and compare at least two solutions before choosing or combining features.
What students show: Two labeled ideas and an evidence-based design choice.Assessed
3-5-ETS1-3
Teams use a repeatable low-tech test—move the same set of user figures through entrances, paths, and play zones—then revise one feature.
What students show: Test notes, before-and-after design, and explanation of improvement.Materials
- Cardboard, paper, foam, and modeling clay
- Craft sticks, string, fabric, tubes, and clean lids
- Small figures or paper people for scale testing
- Rulers, pencils, markers, and planning paper
- Masking tape, glue dots, paper fasteners, clips, and rubber bands
- Scissors and other teacher-approved hand tools
- Reused and student-proposed materials approved before use
Teacher preparation
- Set out a broad materials buffet instead of identical kits.
- Build one small test rig, not a finished example students may copy.
- Mark size, time, and material limits visibly.
- Prepare a team planning page and shared test-data table.
- Create a safe holding area for drying or unfinished builds.
Step by step
How to teach it
Day 1 · 0–20
Explore the challenge
- Introduce the mission: Create a model playground that offers at least three different ways to play and a clear way for everyone to enter.
- Identify the user or audience and what success should look like.
- Explore how sample materials bend, fold, join, compress, slide, or balance.
Day 1 · 20–60
Imagine and prototype
- Each student sketches a different possibility.
- Teams compare ideas against criteria and constraints.
- Build a quick model using only part of the material budget.
Day 2 · 0–35
Build and test
- Complete the first working version.
- Use the same procedure each time: move the same set of user figures through entrances, paths, and play zones.
- Record what worked, what failed, and where it happened.
Day 2 · 35–60
Improve with evidence
- Change one important feature rather than rebuilding randomly.
- Repeat the same test and compare results.
- Add color, surface, form, or story details that strengthen the purpose.
Optional Day 3
Gallery and challenge round
- Display designs with a one-sentence mission and test result.
- Let visitors try the project using the same rules.
- Teams explain one tradeoff and one idea they would try next.
Assessment
- Problem statement includes a purpose, criteria, and constraints.
- Sketches show meaningfully different ideas.
- Material choices are explained using properties.
- Test is repeatable and produces recorded evidence.
- Revision responds to a specific result or failure point.
Supports & extensions
- Offer picture directions and sample joining techniques.
- Provide pre-cut pieces, adaptive scissors, or larger materials.
- Allow students to explain through drawing, speaking, or demonstration.
- Assign flexible roles: designer, builder, tester, recorder, and artist.
- Extension: reduce material use while maintaining performance.
Safety & responsible use
- Use only clean, teacher-approved reused materials.
- Carry scissors and tools safely; cut away from hands and bodies.
- Cover sharp cardboard corners, wire ends, skewers, or fasteners.
- Use a defined test zone and keep faces away from moving or falling parts.
- Teacher handles hot glue, craft knives, and any tool not approved for students.
No-machine alternative
The entire project is already designed for common classroom materials. Substitute paper folds, tabs, slots, string, tape, or found objects while keeping the same criteria and fair-test cycle.
Printable student design brief
The challenge
Create a model playground that offers at least three different ways to play and a clear way for everyone to enter.
Success criteria
- Includes active, imaginative, and quiet play
- Paths connect the main areas
- Color and form make the space feel welcoming
Constraints
- Fits the assigned base
- Uses figures to check scale
- No single feature may block the main path
Engineer’s notes
Our design should…
We chose this material because…
Our first test showed…
The failure point was…
We changed… because…
Next time we would…