Meet the challenge: Design a personalized badge that is readable, comfortable to handle, and attaches securely to a backpack or display hook.
Grade 3 · Tinkercad · Lesson 41
Tinkercad Name Badge
Combine letters, symbols, and a strong attachment loop into a useful personal badge.
Time2–3 × 60 minutes + adult printingTeamsTeams of 2–3EquipmentTinkercad + Bambu P1S fleet
Project inspiration · 3 images
See, build, and test
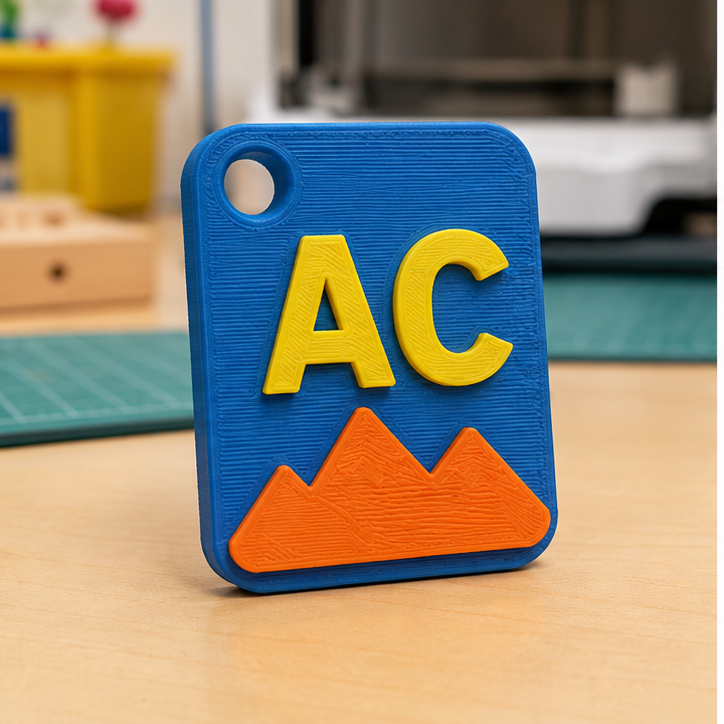
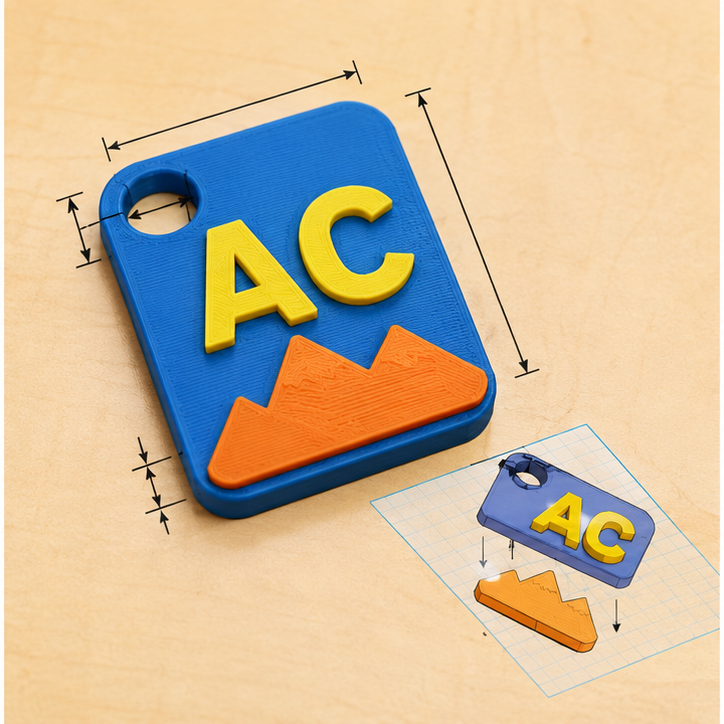
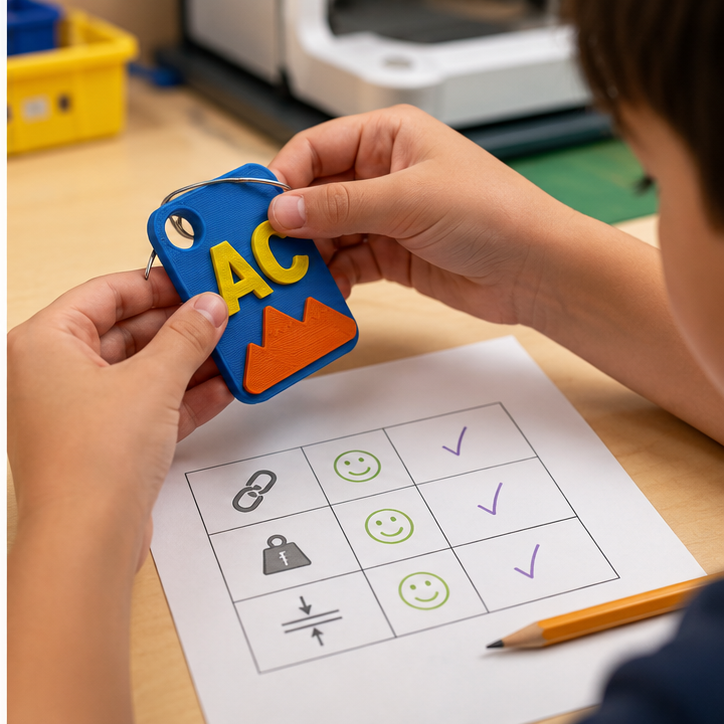
Use these images to understand the kind of making, details, and testing involved. They are inspiration—not designs students must copy.
Student quick guide
What are we doing?
Measure, sketch two ideas, and make a quick cardboard or clay model.
Build the best idea in Tinkercad, test the print, and improve one feature.
For teachers
Engineering standards
This shows how the lesson connects to the national NGSS engineering standards and what student work you can collect.
Assessed
3-5-ETS1-1
Teams define the user or purpose and set measurable size, performance, material, and print-time limits before modeling.
What students show: Problem statement, criteria, constraints, measurements, and labeled sketch.Practiced
3-5-ETS1-2
Students sketch and compare at least two possible forms before choosing or combining features for the digital model.
What students show: Two ideas and a criteria-based design choice.Assessed
3-5-ETS1-3
Teams use a repeatable test—hang the badge from the same model hook, gently pull with the same force, and ask three viewers to read it from one meter—identify a failure point, revise one dimension or feature, and retest.
What students show: Test data, version comparison, and evidence-based explanation.Materials
- Sample hooks or binder rings
- Printed size-check frames
- Letter and symbol sketch cards
- Rulers or calipers
- Graph paper, pencils, cardboard, clay, and tape for prototypes
- Computer or tablet with educator-managed Tinkercad access
- PLA filament; teacher sets a project-specific gram and print-time budget
- Finished test objects appropriate to the lesson
Teacher preparation
- Create an educator-managed Tinkercad class and assignment link; students do not enter personal information.
- Prepare one navigation demonstration using drag, zoom, orbit, undo, and view cube.
- Set the build envelope, minimum wall thickness, minimum feature size, and maximum print time for the class.
- Create the file rule G3_41_Team##_v1.
- Prepare shared build plates and an adult review queue for dimensions, orientation, stability, material use, and safe slicing.
Step by step
How to teach it
Day 1 · 0–20
Define and measure
- Introduce the mission: Design a personalized badge that is readable, comfortable to handle, and attaches securely to a backpack or display hook.
- Identify the user, criteria, constraints, and measurements that matter.
- Sketch two different solutions at approximately full size.
Day 1 · 20–60
Prototype and compare
- Build quick cardboard or clay versions.
- Compare both ideas against the shared criteria.
- Select or combine features and predict the likely failure point.
Day 2 · 0–15
Tinkercad skill warm-up
- Place a box and resize it with the ruler.
- Add text and a student-created symbol using basic shapes.
- Align the parts and use a hole cylinder to form the attachment opening.
Day 2 · 15–60
Build the digital model
- Place the ruler and enter important dimensions instead of guessing.
- Use align and group to create clean, intentional geometry.
- Inspect from top, front, side, and underneath; name the file correctly and submit for teacher review.
Day 3
Print, test, and improve
- An adult slices, approves, operates printers, and removes parts.
- Use the same test procedure each time: hang the badge from the same model hook, gently pull with the same force, and ask three viewers to read it from one meter.
- Revise one dimension or feature in a new Tinkercad version and explain the expected improvement.
Assessment
- Problem includes a user or purpose plus measurable criteria and constraints.
- Two sketches show meaningfully different solutions.
- Tinkercad model uses entered dimensions and purposeful tool choices.
- Model meets the teacher's printability and material-budget checklist.
- Test is repeatable and the revision responds to evidence.
Supports & extensions
- Provide a Tinkercad picture guide and a starter file containing only basic reference shapes.
- Use mouse practice, larger grid snap, and one new tool at a time.
- Allow a student to direct a partner or teacher who performs fine cursor movements.
- Offer measured template objects while preserving choices about form and features.
- Extension: reduce material, add a moving fit, or create two size variants using parameters recorded on paper.
Safety & responsible use
- Students do not touch hot ends, heated beds, or moving printer parts.
- An adult handles slicing approval, printer setup, monitoring, part removal, and support cleanup.
- Use only lab-approved PLA and teacher-managed accounts; never publish student names or designs publicly without permission.
- Check finished parts for sharp strings, weak points, and small-piece hazards before use.
- Printed parts are prototypes—not food-safe, medical, climbing, load-bearing, or life-safety products.
No-machine alternative
Build the final version with cardboard, clay, foam, paper tubes, reusable construction pieces, or teacher-prepared shapes. Keep the same measurements, criteria, fair test, evidence, and revision cycle.
Printable student design brief
The challenge
Design a personalized badge that is readable, comfortable to handle, and attaches securely to a backpack or display hook.
Success criteria
- Readable from one meter
- Attachment opening remains strong
- Design communicates an interest or identity without private information
Constraints
- Uses first name, initials, or a classroom nickname only
- Fits the teacher's size and print-time box
- No thin floating letters
Engineer’s notes
Our user needs…
The measurements that matter are…
Idea A and Idea B are different because…
In Tinkercad we used…
Our test showed…
We changed… because…
Our next version would…